
How to make sourdough starter for bread, pizza, pancakes + more!

Thinking of cutting out bread? Think again!
Why you should choose sourdough bread for gluten sensitivity, gut issues, inflammation and more…
Introduction
Gluten sensitivity has become a prevalent issue in recent years, affecting a significant portion of the population. While we may want to blame wheat, we should recognize that not all wheat is created equally. Industrial agriculture and pesticides like glyphosate can significantly irrirate the gut, leading to inflammation and hyperpermeability aka. “leaky gut.” In addition, the anitnutrients in flour such as phytic acid can contribute to the inflammatory load.
If you’ve gone off bread due to a suspected gluten sensitivity (but are not celiac) then sourdough bread made with high quality flour may be your answer to having the best of both worlds. Our ancestors would have made bread this way, and it’s only with the modernization of baking + agriculture that we’ve started to have massive issues relating to wheat and gluten.
Contrary to conventional bread-making methods, sourdough requires natural fermentation, which adds numerous bonuses when it comes to gluten sensitivity.
Let's delve into why making sourdough bread is a wise choice for individuals with gluten sensitivity!
*Note - if you have or suspect celiac disease, then even sourdough bread is off limits. There is a significant difference between being sensitive to gluten and having celiac. Consult with a doctor if you are unsure. This article is not medical advice.
1. Gluten Breakdown
Gluten, a complex protein found in wheat, barley, and rye, is responsible for the elastic texture and structure in bread. Unfortunately, for those with gluten sensitivity, consuming gluten can lead to various digestive issues and discomfort. However, the fermentation process used in sourdough breadmaking naturally breaks down gluten. During fermentation, the wild yeasts and lactobacillus bacteria feed on the carbohydrates in the dough, releasing enzymes that help break down gluten. This breakdown of gluten significantly reduces its concentration, making sourdough bread easier to metabolize.
2. Improved Digestibility
The fermentation process in sourdough not only breaks down gluten but also enhances the overall digestibility of the bread. Through fermentation, complex carbohydrates are partially broken down into simpler sugars, making them easier for the body to absorb. Additionally, the beneficial bacteria present in sourdough act as pre + probiotics, aiding in digestion and promoting a healthy gut microbiome. This improved digestibility can alleviate discomfort and bloating.
3. Lower Glycemic Index
Sourdough bread has a lower glycemic index compared to traditional bread. The natural fermentation process slows down the digestion and absorption of carbohydrates, resulting in a more gradual release of sugars into the bloodstream. This slower absorption helps prevent sudden spikes in blood sugar levels, promoting steady energy levels and reducing the risk of insulin resistance. For individuals with gluten sensitivity, this can be particularly beneficial as they often face additional challenges related to carbohydrate digestion and blood sugar management.
4. Superior Nutrient Profile
Sourdough bread boasts a more impressive nutrient profile compared to its commercially produced counterparts. The fermentation process increases the bioavailability and absorption of minerals like iron, zinc, and magnesium. Sourdough bread also contains higher levels of B-vitamins, thanks to the beneficial bacteria present during fermentation. The fermentation process also breaks down the starches and phytic acid reducing the antinutrient profile, and making it easier for the body to utilize and absorb nutrients, while providing dietary fiber to help support a healthy gut.
So you’re ready to make the switch?
Read on to learn how fun and simple it can be to keep your own sourdough starter culture alive!
A great activity for the whole family + a wholesome science experiment as well ;)
Sourdough Starter Recipe
If you're looking to create your own delicious and flavorful sourdough bread at home, you'll need to start with a sourdough starter. A sourdough starter is a naturally fermented mixture of flour and water that captures wild yeast and bacteria. This recipe will guide you through the process of making your very own sourdough starter, which will serve as the foundation for your future sourdough baking adventures.
Ingredients:
1 cup organic white/unbleached flour —
bonus if you can source locally grown + milled wheat!
you’ll only use 1/2 a cup of flour on day 1, and the other half on day 2.
1/2 cup filtered water —
you’ll only use 1/4 cup of water on day 1, and the other 1/4 on day 2.
A clean glass jar wide mouth swing-top jar with rubber seal.
A clean piece of cheese cloth (optional — if you use a swing top jar you can skip the cloth — see tips.)
You’ll need an additional 1/2 cup of flour and 1/4 cup of water to keep feeding your starter on days 3-5. It’s hungry!!
TIPS FOR YOUR SOURDOUGH BREAD CULTURE:
YOU DON’T NEED TO BE PERFECT. This is a wild practice and it’s meant to be fun! Your starter wants food in the form of flour, water, and warmth.
If you have a food scale, you can measure out 1:1 ratio of flour to water to get a more precise hydration ratio — for example, 100 grams of flour to 100 grams of water.
You can experiment with adding flavours and terroir to your starter by incorporating a pinch of bee pollen, honey, fruit juice or other simple fermentable sugars to your starting mix. This is 100% optional and results may vary.
I personally like to use a mason jar with a swing top lid and rubber seal to keep my starter in, as it can be sealed while still allowing for air pressure to escape. You can do this instead of using a cloth.
If your house is on the cooler side, keep the starter on top of the fridge or in a pantry where it’s warmer.
If you notice a layer of brown liquid on your starter this means you haven’t fed it frequently enough — the yeasts have created alcohol! You can pour that off or mix it in, then feed your starter. If you choose to leave it, you’ll have a more intense flavour in your breads.
If you get inactive with feeding and using your starter, you can scrape some “fed” starter onto a piece of parchment, let it dry into a crust and keep in the freezer. When you want to start making sourdough again, just pull it out and follow the “making your starter” instructions, adding in bits of your old dry starter. This will speed up fermentation time and keep some of your original cultures in your new batch.
If you notice a greyish/black or dark colour liquid in your starter, it has gone bad. Any signs of mold would also be the result of poor fermentation. Discard and try again :)
Instructions:
Day 1:
1. In the clean glass jar, combine 1/2 cup of organic flour with 1/4 cup of filtered water. Mix well until there are no dry lumps.
2. Loosely cover the jar with a clean kitchen towel and secure it with a rubber band. This will allow airflow while preventing any unwanted contaminants from getting into the mixture.
3. Leave the jar at room temperature (around 70°F/21°C) for 24 hours.
Day 2:
1. Once 24 hours have passed, discard about half of the existing mixture from the jar.
2. Add 1/2 cup of organic flour and 1/4 cup of filtered water to the remaining mixture in the jar. Stir until well combined.
3. Replace the kitchen towel and let the jar sit at room temperature for another 24 hours.
Day 3 to Day 5:
1. Repeat the process from Day 2, discarding half of the mixture and adding 1/2 cup of all-purpose flour and 1/4 cup of filtered water to the jar. Mix well after each addition.
2. By now, you may start noticing some bubbling and fermentation activity in your starter. This is a good sign that it's developing nicely. If you don't see much action yet, don't worry; it can take a few more days to fully mature.
Day 6 and Beyond:
1. Continue with the discard and feeding process for at least a week or until your starter is consistently active. Active means that it should double in size 4-8 hours after a feeding and exhibit a pleasant fruity/sour aroma.
Congratulations on reaching day 6 of your sourdough journey!
By now, your sourdough starter should be alive, active, and ready to take on a variety of delicious recipes. Whether you're a seasoned baker or just beginning to explore the world of sourdough, there are plenty of exciting things you can do with your starter.
Maintaining Your Sourdough Starter: Routine and Feeding
Once you've established a healthy sourdough starter, it's important to maintain its vytality. To keep your starter happy, follow a regular feeding schedule. Feed your starter daily, or every 12 hours if you prefer a more active and vigorous culture.
If you forget, don’t worry. They can be pretty resilient! If you’ve forgotten and just remembered your starter needs feeding, pour off the majority of what’s in the jar, leaving only an inch or so at the bottom. Proceed to feed. It may take a couple days to get it back to active, or if it’s really hungry and alive it will take 24 hours.
To feed your starter, discard approximately half of it and then replenish with equal amounts of flour and water. For instance, if you remove 100 grams of starter, add 50 grams of flour and 50 grams of water. You can also eyeball this. I usually discard about half and then add 100g back of flour and 100g of water. Mix everything thoroughly, cover your jar with a breathable cloth or seal with swing top lid, and let it sit at room temperature until it doubles in size.
Diversifying Your Sourdough Creations
Now that your sourdough starter is vibrant and ready to go you can start experimenting with different recipes! Here are some suggestions:
1. Classic Artisan Bread
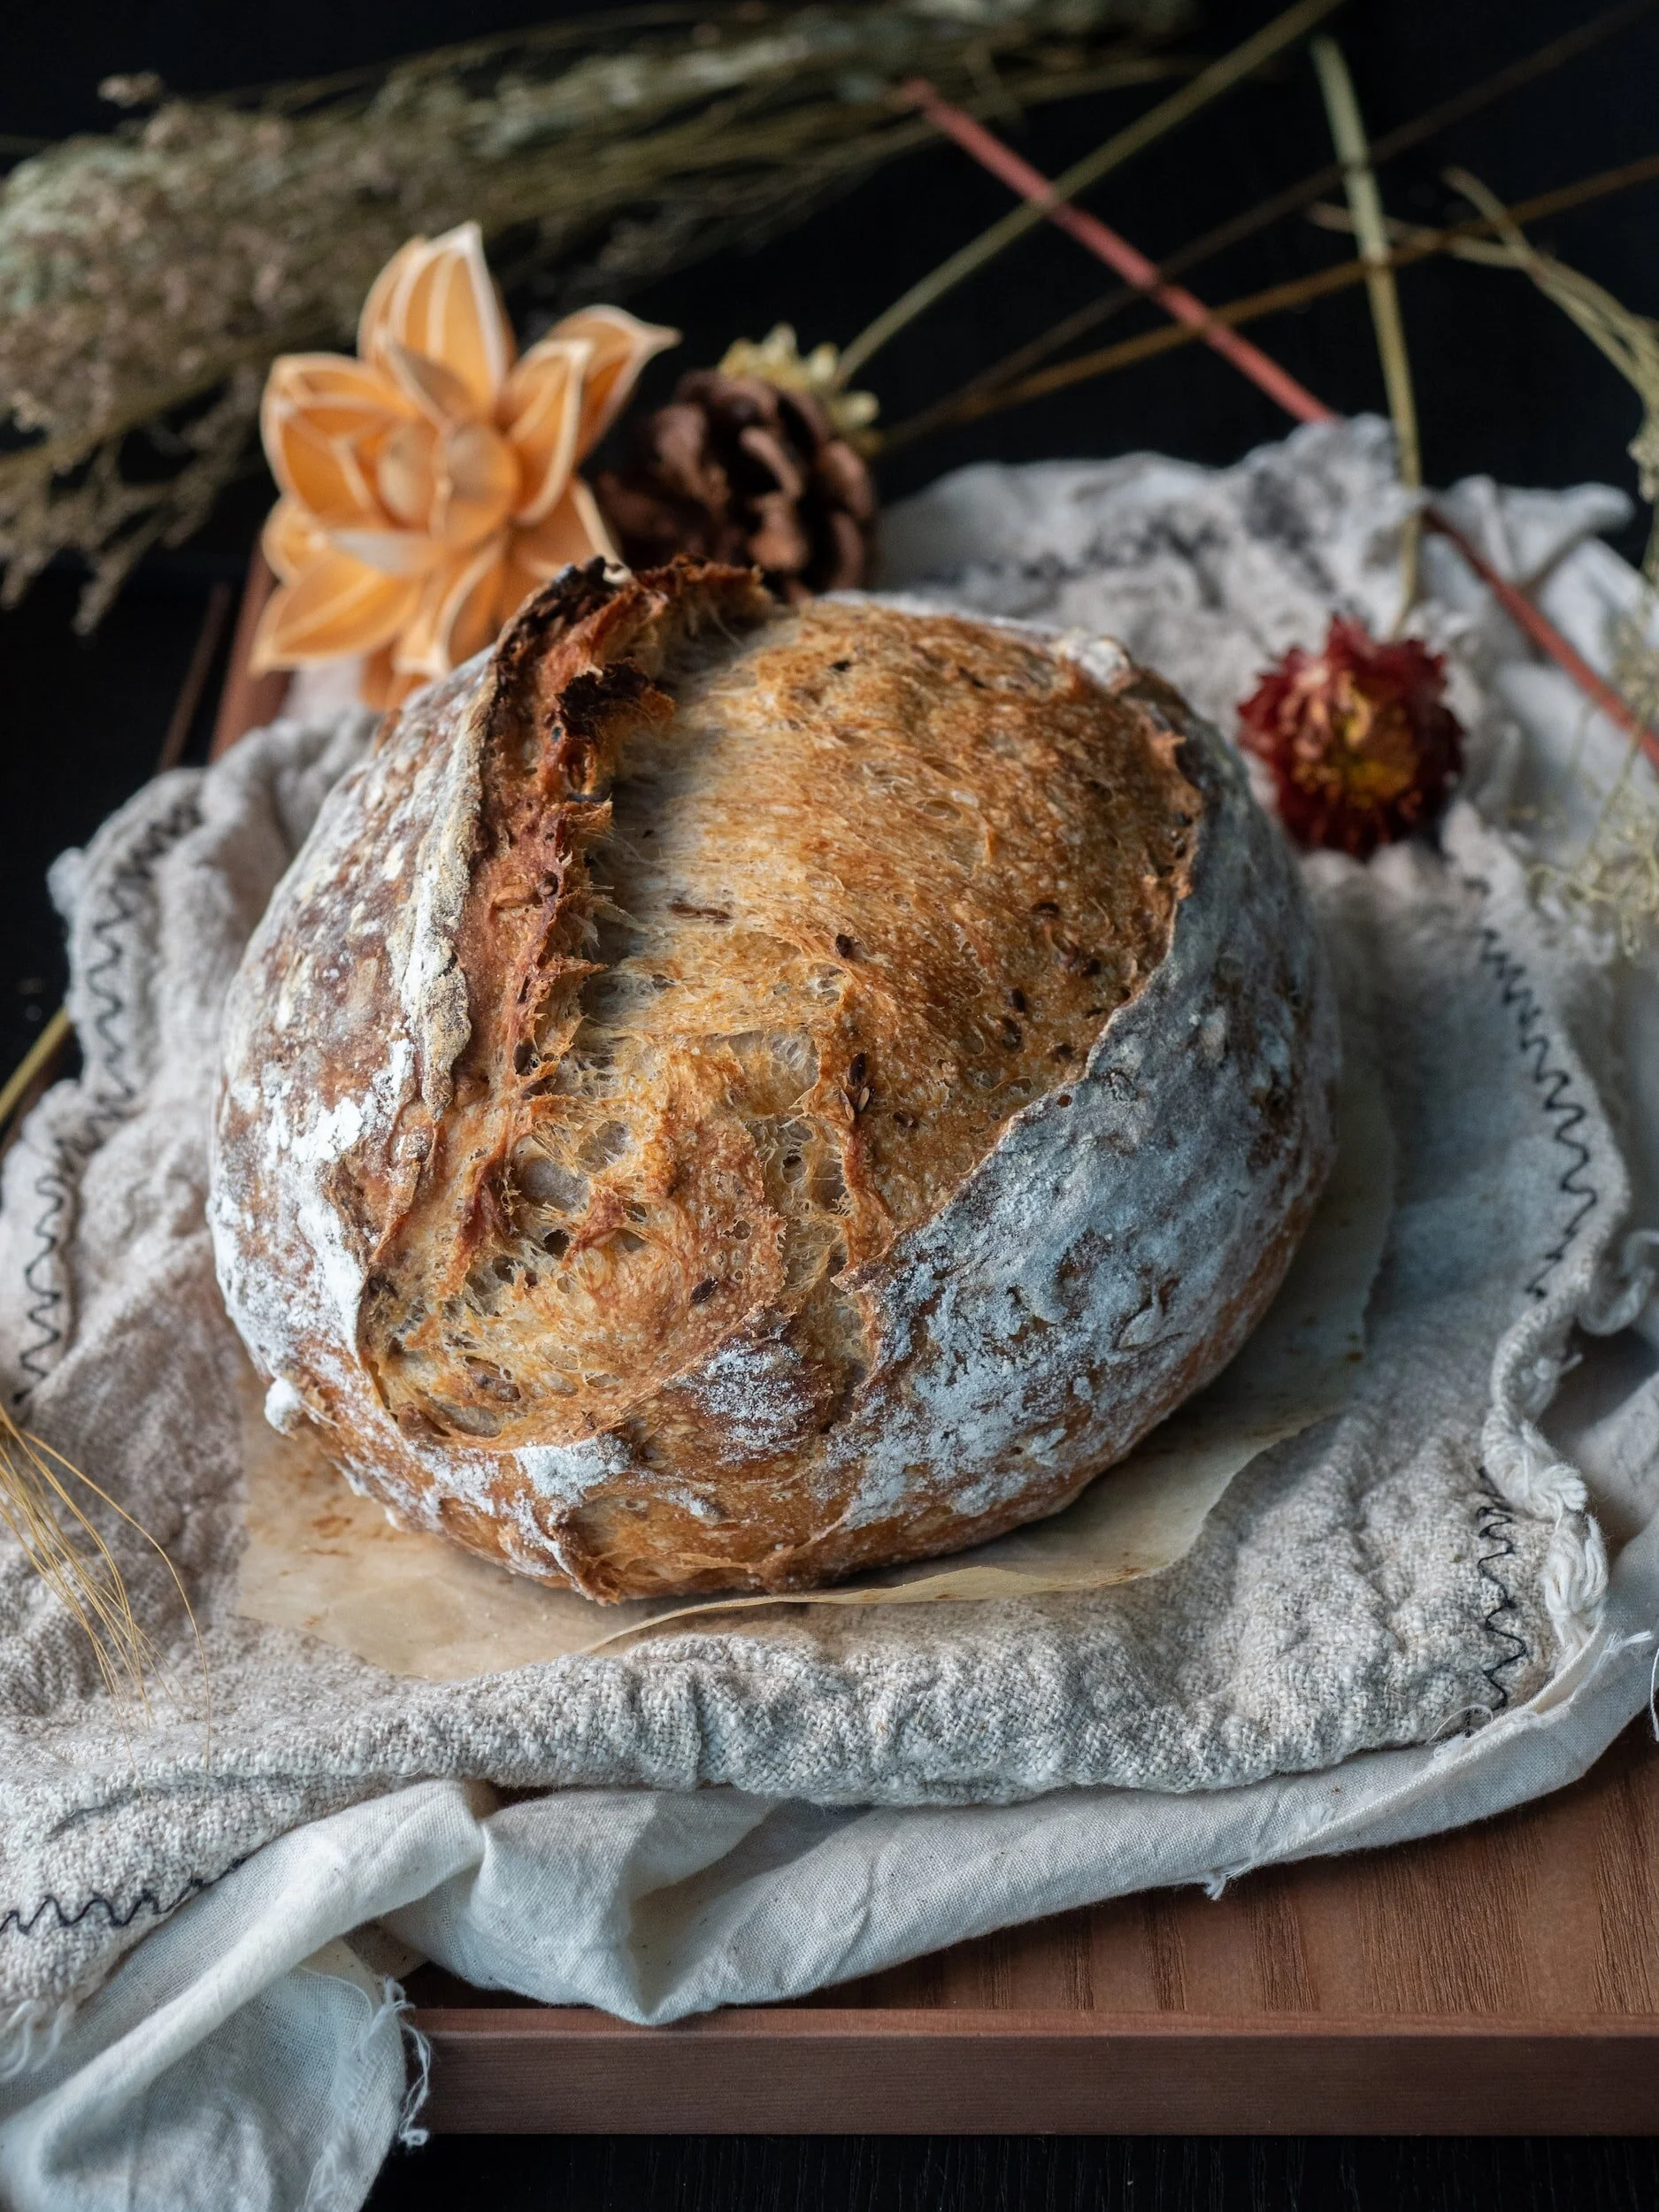
The foundation of sourdough baking lies in creating a wonderfully crusty and flavorful loaf of bread. With your well-fed starter, you can make a variety of bread types, including a classic artisan loaf. Combine flour, water, salt, and your starter to create a dough. Allow it to undergo bulk fermentation, shape it, proof it, and then bake it to perfection. The tangy flavor and chewy texture of your homemade sourdough bread will leave you wanting more.
2. Fluffy Pancakes and Waffles
Your sourdough starter is not limited to just bread! It can also be used to create fluffy, tangy, and incredibly delicious pancakes and waffles. Simply incorporate some of your active starter into your favorite batter recipe, let it sit overnight, and wake up to a breakfast treat that will surely impress.
See my recipe for the BEST fluffy sourdough pancakes here.
3. Pizza Dough
Upgrade your pizza game with sourdough pizza dough. The fermentation process of your starter will not only provide a delectable tang but also enhance the texture and rise of your crust. Mix your starter with flour, water, salt, and a touch of olive oil.
4. Sourdough Crackers
Craving a crunchy and savory snack? Look no further than homemade sourdough crackers. With just a few simple ingredients like flour, olive oil, salt, and your sourdough starter, you can make crispy, golden-brown crackers that are perfect for snacking or serving with dips and spreads.
5. Sourdough Cinnamon Rolls
A perfect indulgent brunch option for a lazy weekend spent in the kitchen. Gooey swirls of cinnamon, grassfed butter and sugar wrapped in a tender sourdough dough will have your kitchen smelling like a bakery. Enjoy as a treat with a protein coffee to keep your blood sugar balanced ;)